|
Download the MySQL Installer from dev.mysql.com. The two download options are a web-community version and a full version. The web-community version will only download the server, by default, but you can select other applications (like Workbench) as desired. The full installer will download the server and all the recommended additional applications. (You’ll also be asked to create a user account, but you skip this part by scrolling down to the bottom and clicking "No thanks, just start my download".)  |
Run the installer that you downloaded 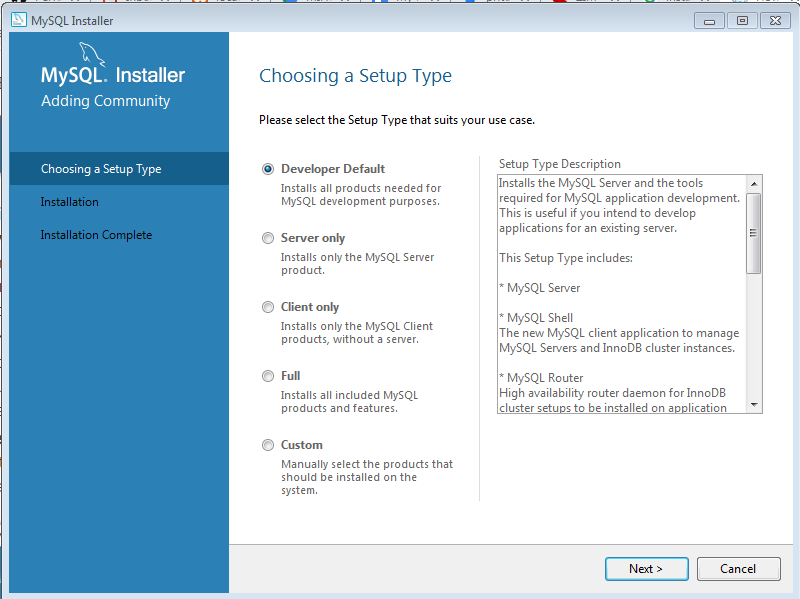 |
Determine which setup type you would like to use for the installation
|
|
Install the server instance and whichever additional products you selected. Then begin the configuration process by selecting the availability level (most users will use the default, standalone version).
Complete the configuration process by following the on-screen instructions. You’ll want to make sure to install MySQL as a Service so that Windows can automatically start the service after a reboot or can restart the service if it fails. For additional, step-by-step instructions, see MySQL Server Configuration with MySQL Installer. 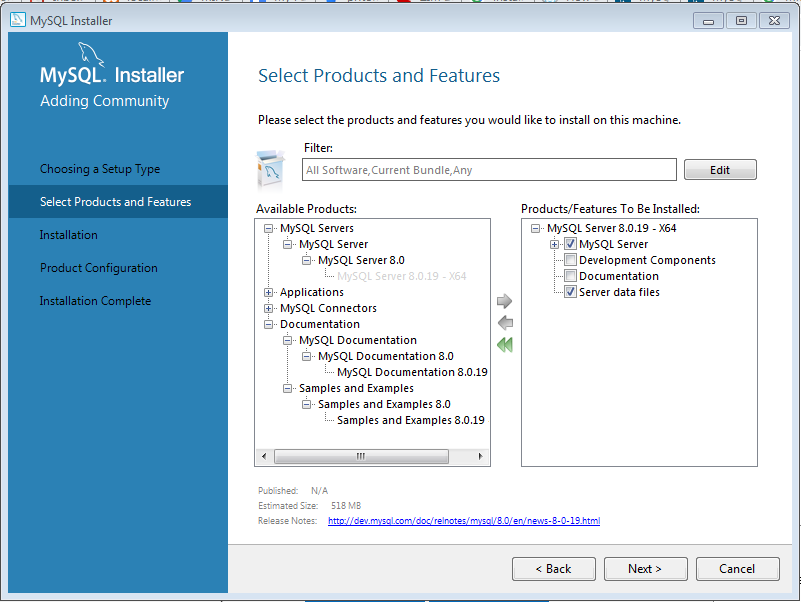  |
| And finally MySQL installed into your system. |
Saturday, February 22, 2020
How to Install MySQL on Windows
Subscribe to:
Post Comments (Atom)
No comments:
Post a Comment